How to create a digital wedding invitation step by step
A step-by-step guide to creating your digital wedding invitation in under 30 minutes. No designer, no print shop, ready to send over WhatsApp.

Creating a digital wedding invitation shouldn't be a project that takes you weeks. If you have your event's basic information, a good photo and a few free minutes, you can have your invitation ready today — no designer, no print shop and nothing to install.
In this article we walk you step by step through the whole process. It works for any couple, no matter the size of the wedding or your level of experience with technology.
📝 Before you start — have this on hand
Having this information ready before opening any platform saves you going back and forth while you set up the invitation:
- The couple's full names (as you want them to appear on the invitation)
- The exact date and time of the event
- The ceremony venue — name of the place and full address
- The reception venue — if it's different from the ceremony
- Dress code — formal, semi-formal, beach, cocktail, etc.
- Gift information — registry, cash gift, honeymoon fund, etc.
- A nice photo of the couple — well lit, high resolution, where you can both be seen clearly
- A preliminary guest list — even if it's incomplete, the closest people are enough to get started
With that, you have everything you need. If you're missing a piece, don't worry — you can complete it later, and the changes are reflected instantly.
💡 Nupcii Tip: Don't get stuck over not having everything perfect. Start with what you have and fill in the rest when you can — the invitation updates itself every time you edit something.
👤 Step 1 — Sign up on a digital invitation platform
The first thing is to create an account. For this guide we'll use Nupcii (nupcii.com) as an example, because it's free to start and doesn't require installing any app.
- Go to nupcii.com from your phone or computer
- Click "Create account"
- Enter your email and a password
- Confirm your email from your inbox
That's it. Signing up takes less than 2 minutes.
💒 Step 2 — Create your event
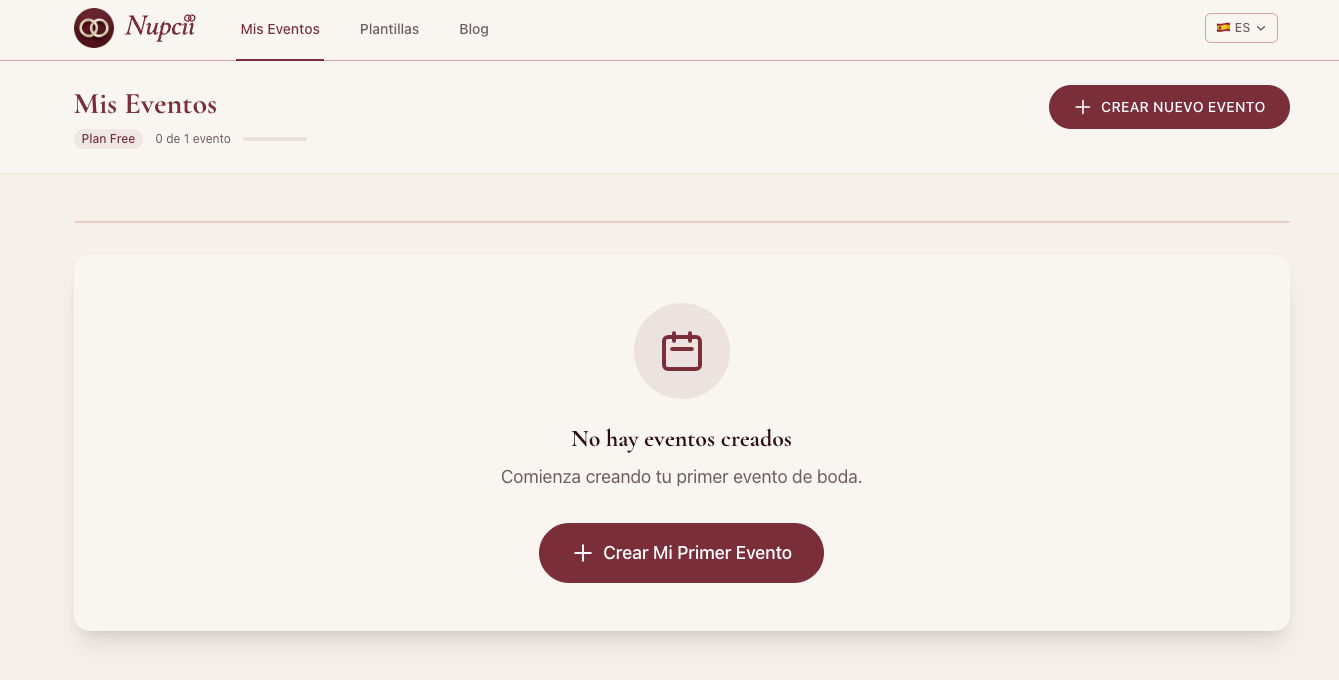
Once inside your account, you'll land on the events page. This is where your invitation is born.
- Click "Create event"
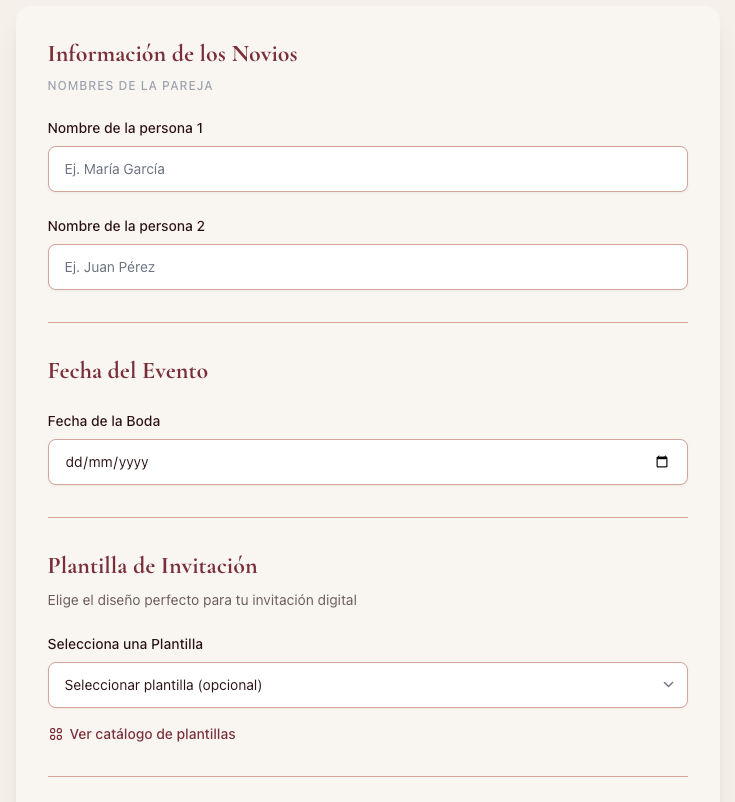
- Enter the couple's names and the wedding date
- If you've already bought the Celebración plan, you'll be able to choose the event type (Celebración) at this step. If you're starting for free, the event is born on the Free plan and you can upgrade it later
- Save and enter your event
You now have the foundation created. From here on, all the work is personalization.
📋 Step 3 — Set up the event details
Inside your event you'll see three tabs. The first is "Set up details" — here you enter all the information your guests will see.
Fill in each section:
- Ceremony — venue, address, time
- Reception — venue, address, time (if it's different)
- Dress code — write it exactly as you want it to appear
- Additional notes — transportation, children policy, lodging recommendations, etc.
💡 Nupcii Tip: Write clearly and check your spelling. These texts are what all your guests will see, so it's worth spending 5 minutes taking care of the details.
🎨 Step 4 — Choose your template
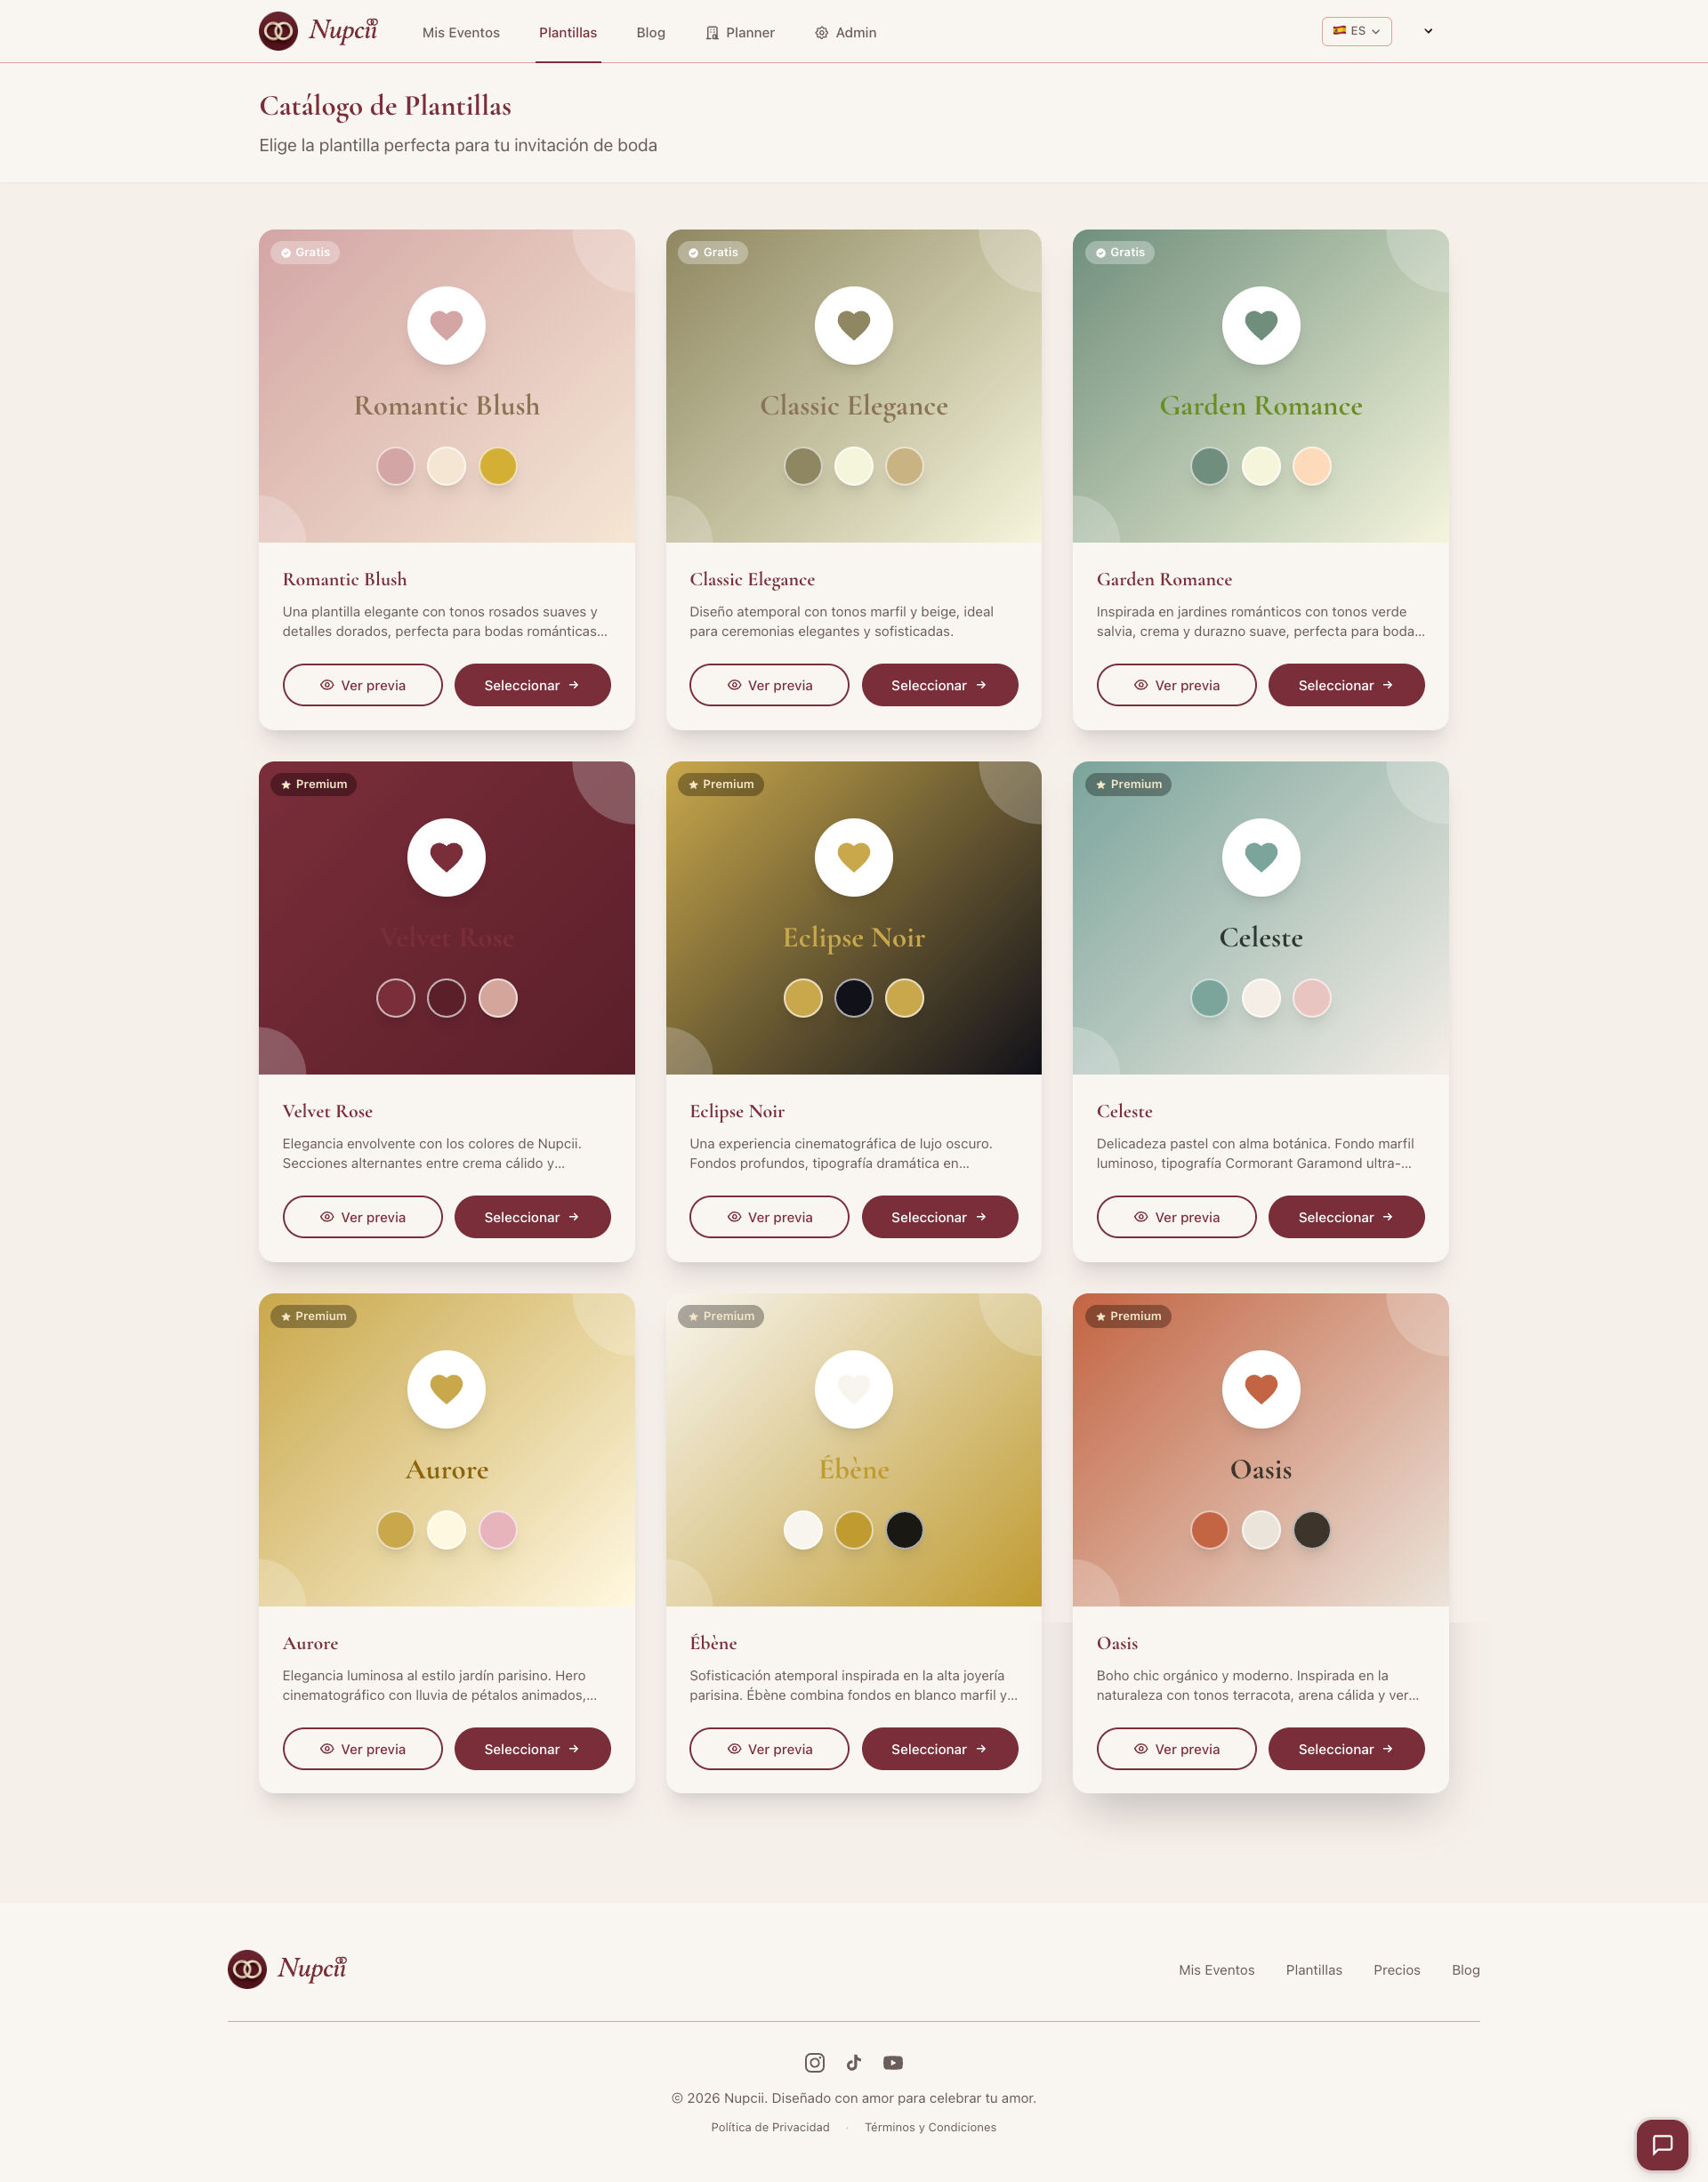
This is where your invitation starts to take visual shape. Go to the "Customize card" tab and you'll see the catalog of available templates.
How to choose well:
- If your wedding is formal and elegant → Classic Elegance or Romantic Blush
- If it's outdoors or in a garden → Garden Romance
- If you want something modern and minimalist → check the premium templates
Don't obsess over the perfect choice — you can change the template at any time, even after publishing the invitation, without your guests' links breaking.
✨ Step 5 — Personalize your invitation
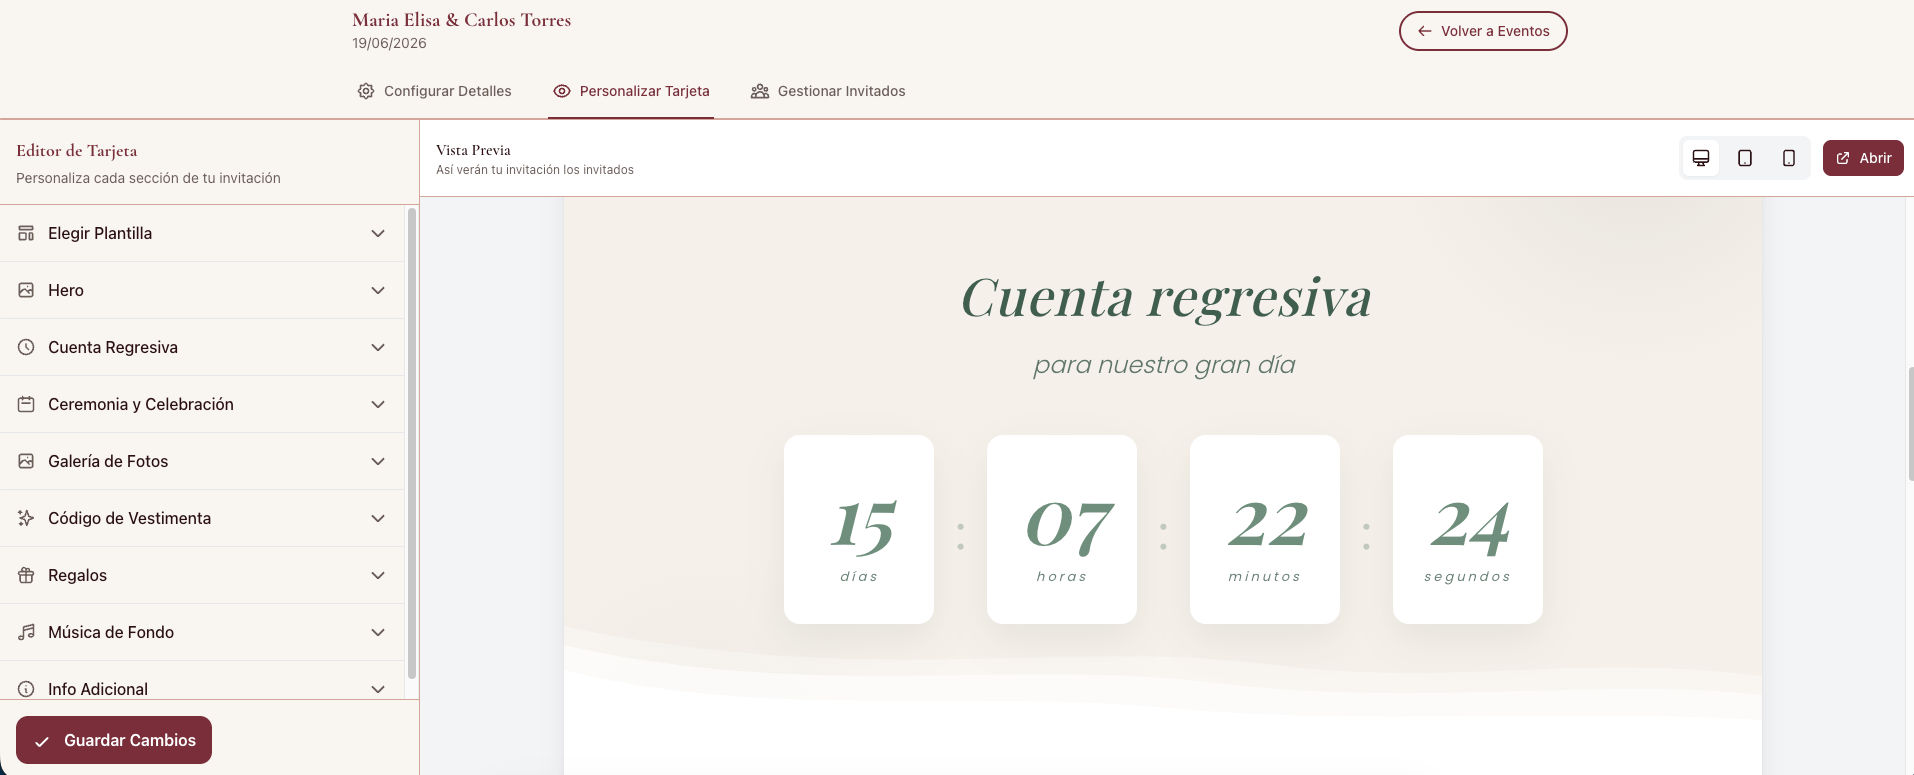
With the template chosen, now you're going to make it yours. In the editor you'll see all the sections you can adjust.
Hero (the cover)
It's the first screen your guests will see when they open the link. Upload your cover photo here — this is the most important image in the whole invitation. Use a good photo where you're both clearly visible as a couple.
Color palette
Each template includes 3 palettes. Try them out — the same template changes completely with each palette. Choose the one that best matches the atmosphere you're imagining for your wedding.
Background music
Select a song that will set the mood of the invitation when it's opened. If your template comes with a limited music catalog, you can access the full library by upgrading to the Celebración plan.
Photo gallery
Upload 3–10 photos of the couple. This is the section that generates the most emotional connection with guests — it's worth taking care of.
Gifts and Dress code sections
Check that they appear exactly as you wrote them in step 3. Here you can fine-tune the tone if you want.
👥 Step 6 — Add your guests
Go to the "Manage guests" tab and click "Add guest". Here you decide how the link is generated for each person or family.
You have three options depending on the type of invitation:
- Individual — a single person, a single spot
- Family with spots — a link in the family's name with a fixed number of spots (e.g. "The Pérez Family — 4 people")
- Person + spots — a guest with one or more companions (e.g. "Juan + 1")
Each guest receives their own unique link with their name — it's not a generic invitation. That makes all the difference in how the other person receives it.
💡 Nupcii Tip: Start with your 20–30 closest guests. You can add the rest later, calmly — you don't need the complete list to get started.
📲 Step 7 — Share your invitation
The most-awaited moment has arrived. There are two ways to send the invitations depending on your plan:
Free plan:
- In the guest list, click the copy link icon next to the person's name
- Paste the link into WhatsApp, email, SMS or whatever medium you prefer
- Repeat with each guest
- Next to each guest you'll see the "Send via WhatsApp" button
- Click it — WhatsApp opens with the message already written and the link included
- Select the contact and send
In both cases, the links never expire — they stay active forever, even after the wedding.
📊 Step 8 (bonus) — Monitor confirmations
Once your guests start opening their links, you can see everything from your dashboard:
- Who opened their invitation
- Who confirmed attendance
- Who is still pending
- How many guests confirmed in total
This lets you follow up without having to call each one or create WhatsApp groups to confirm. The information updates instantly every time someone responds.
⚠️ Common mistakes when creating your first digital invitation
- Starting without having the basic information on hand — it ends up being back and forth between tabs. Better to gather everything first.
- Uploading a low-quality photo as the cover — the first impression is the most important thing. It's worth finding a good photo or doing a quick session.
- Sending the invitations without testing the link first — always test your own link before sending it to everyone else. Make sure everything looks the way you expect.
- Adding all your guests at once at the start — start with the closest ones. Add the others calmly.
- Not communicating the confirmation deadline — if you don't set an RSVP cutoff date, many people will never finish confirming.
📋 In summary
Creating a digital wedding invitation takes less time than most people imagine. The complete process comes down to:
- Have the basic information on hand
- Sign up on the platform
- Create your event
- Set up the details
- Choose and personalize the template
- Add your guests
- Share the links
- Monitor the confirmations from your dashboard
If you do it in one go with the information ready, you can have your invitation up and running in under 30 minutes.
✨ Conclusion
Creating your digital wedding invitation requires no designer, no print shop and no weeks of work. With organized information, a good photo and the right platform, in under 30 minutes your invitation is ready to share with each of your guests.
With Nupcii you can create your digital invitation completely free with the Free plan. You get up to 40 guests, 3 available templates and attendance confirmation. It's the perfect way to test how your invitation looks before deciding whether you want to expand it.
When you're ready for something bigger — unlimited guests, all the premium templates, direct sending via WhatsApp and full music — you can move to the Celebración plan for $19 USD (one-time payment, no subscription) and unlock everything at once.
📸 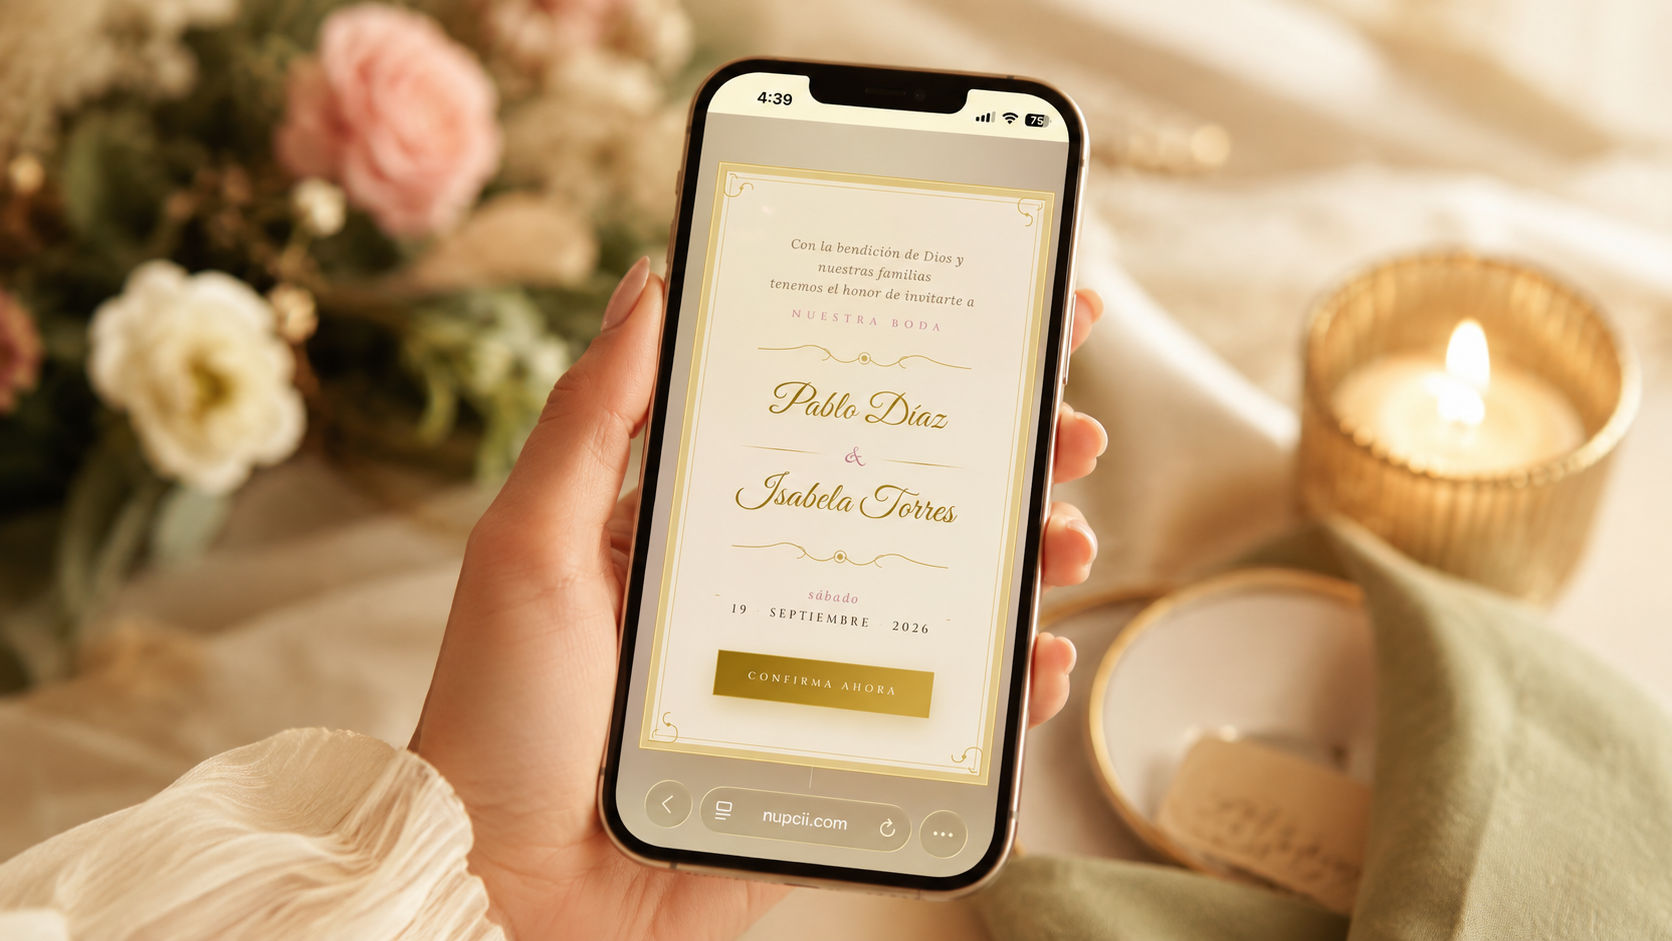
✨ Because your wedding invitation deserves to be ready today — not in three weeks, not after paying a designer, not when you find the time. Today.
Ready to create your invitation?
Start free today. No credit card required.
Create my invitation for free